Setting Up Webhooks
Connect webhook endpoints to a published form so submission data is delivered automatically.
Prerequisites
- A published form. If you haven't published yet, see Publishing Forms.
Webhook endpoints must use HTTPS.
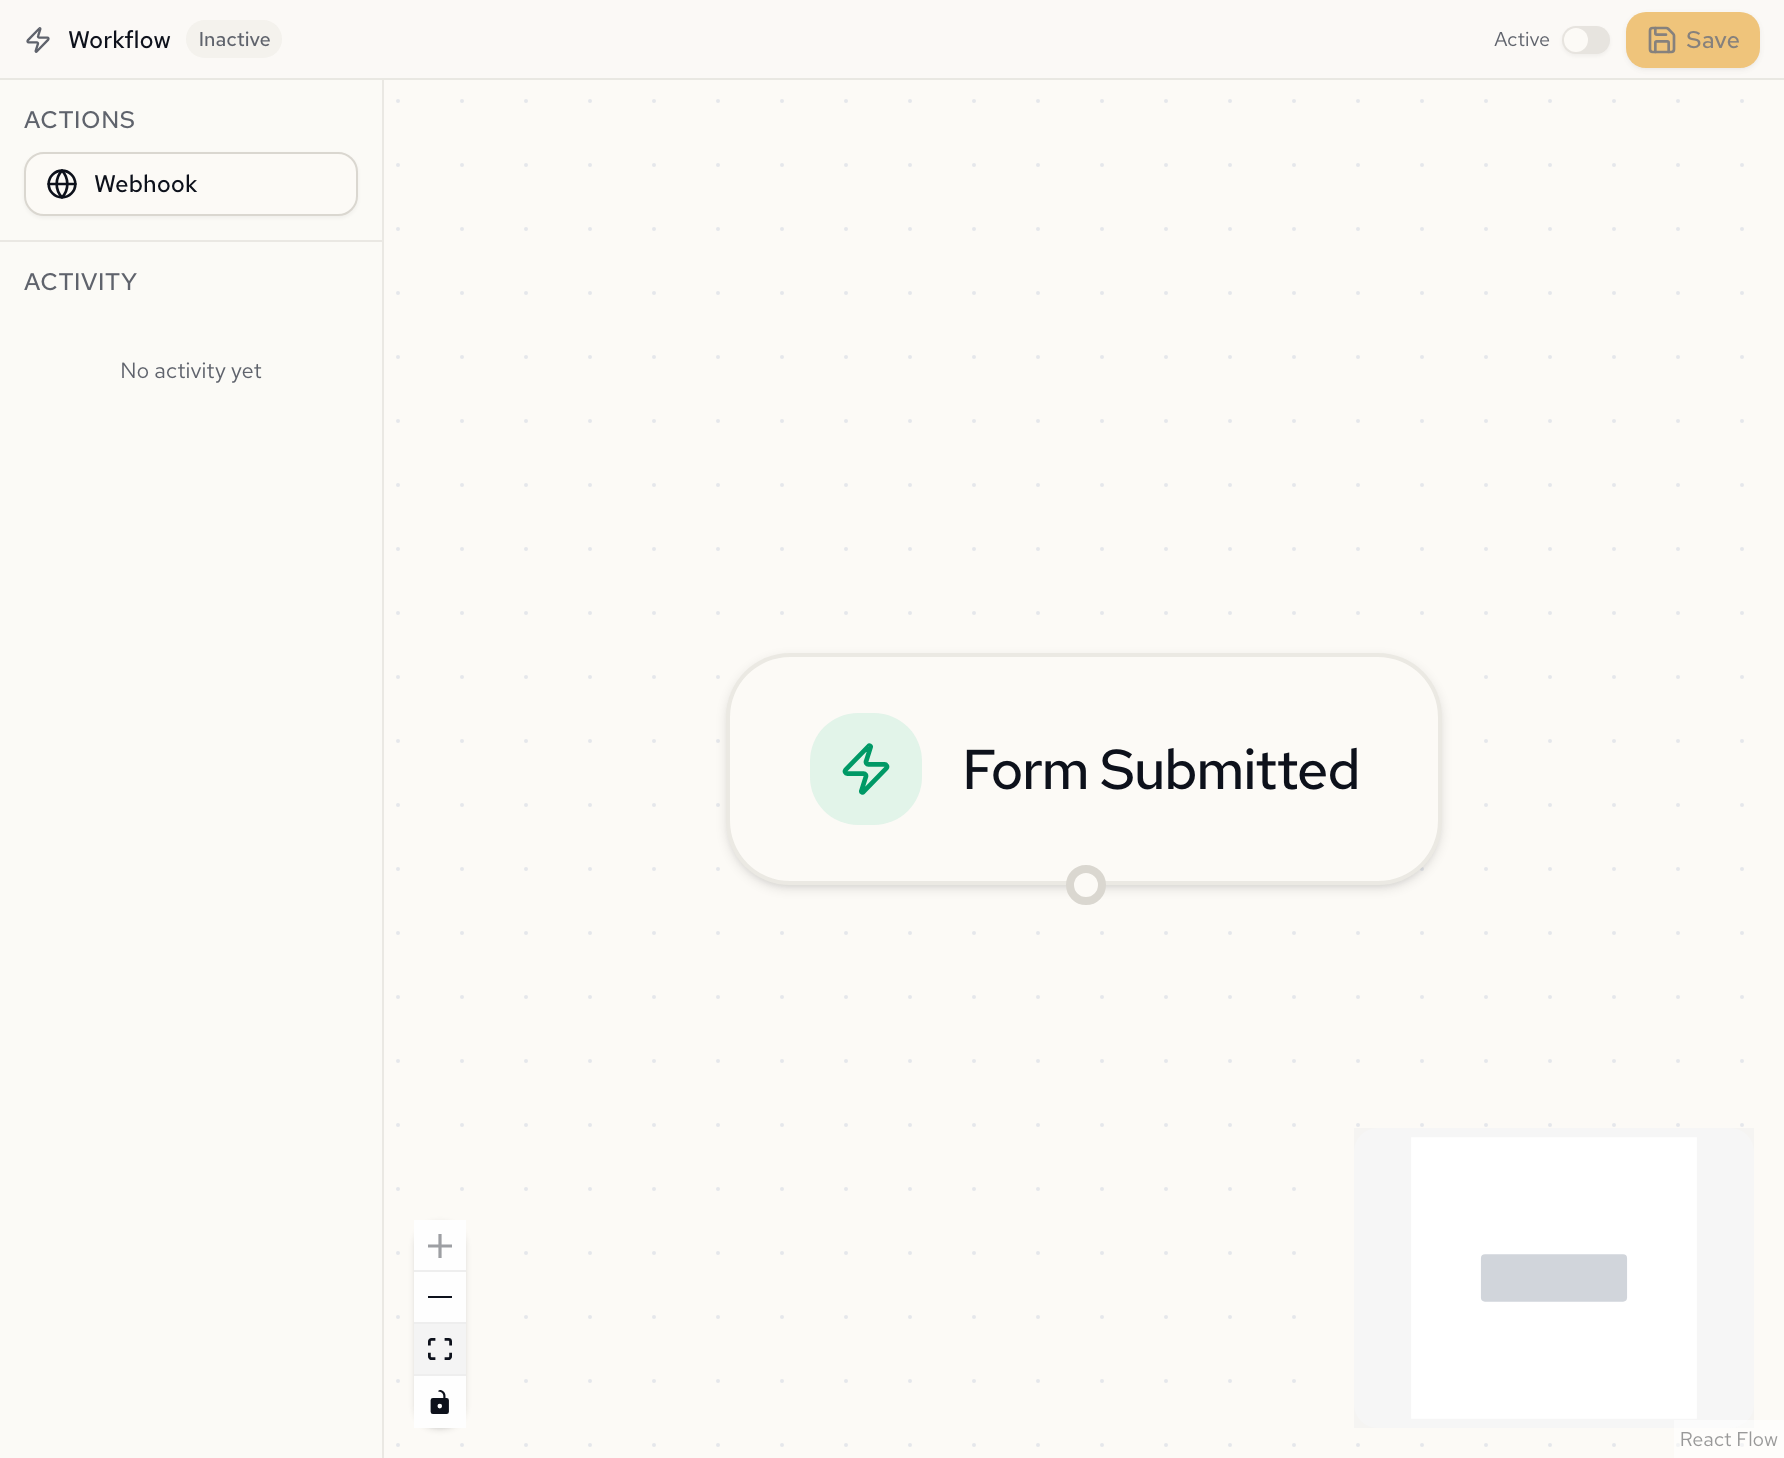
Open the Workflow Editor
-
Open the thread containing your published form.
-
Click Workflows in the sidebar tab bar.
The workflow editor loads with a Form Submitted trigger node already placed on the canvas. The left sidebar shows an Actions panel and an Activity feed.
Add a Webhook
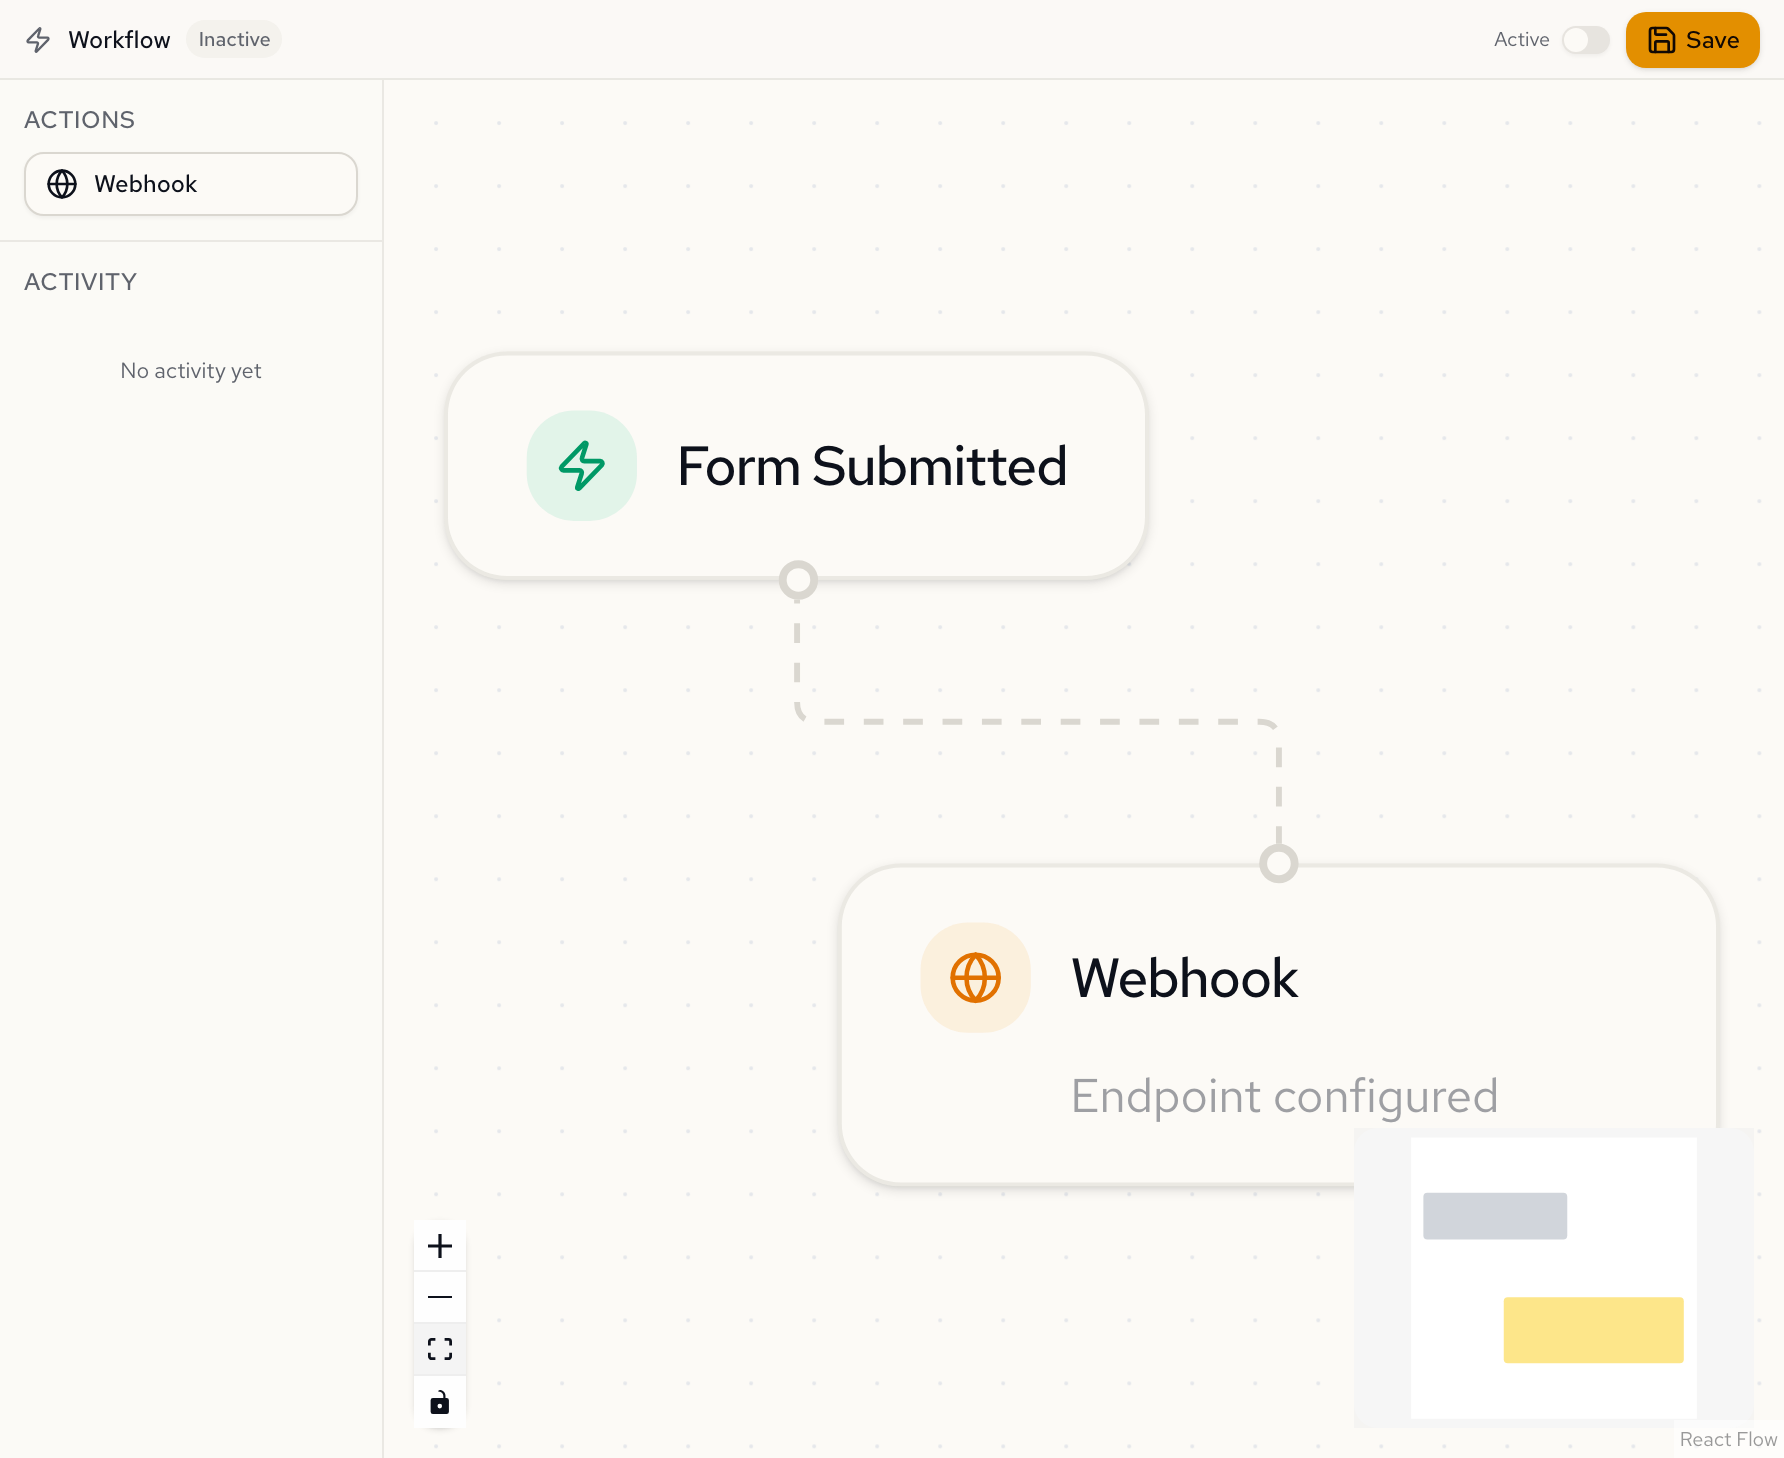
- Click the Webhook button in the Actions panel on the left.
A webhook node appears on the canvas, connected to the trigger node by a dashed edge.
Configure the Endpoint
- Click the webhook node on the canvas to open the configuration panel on the right.
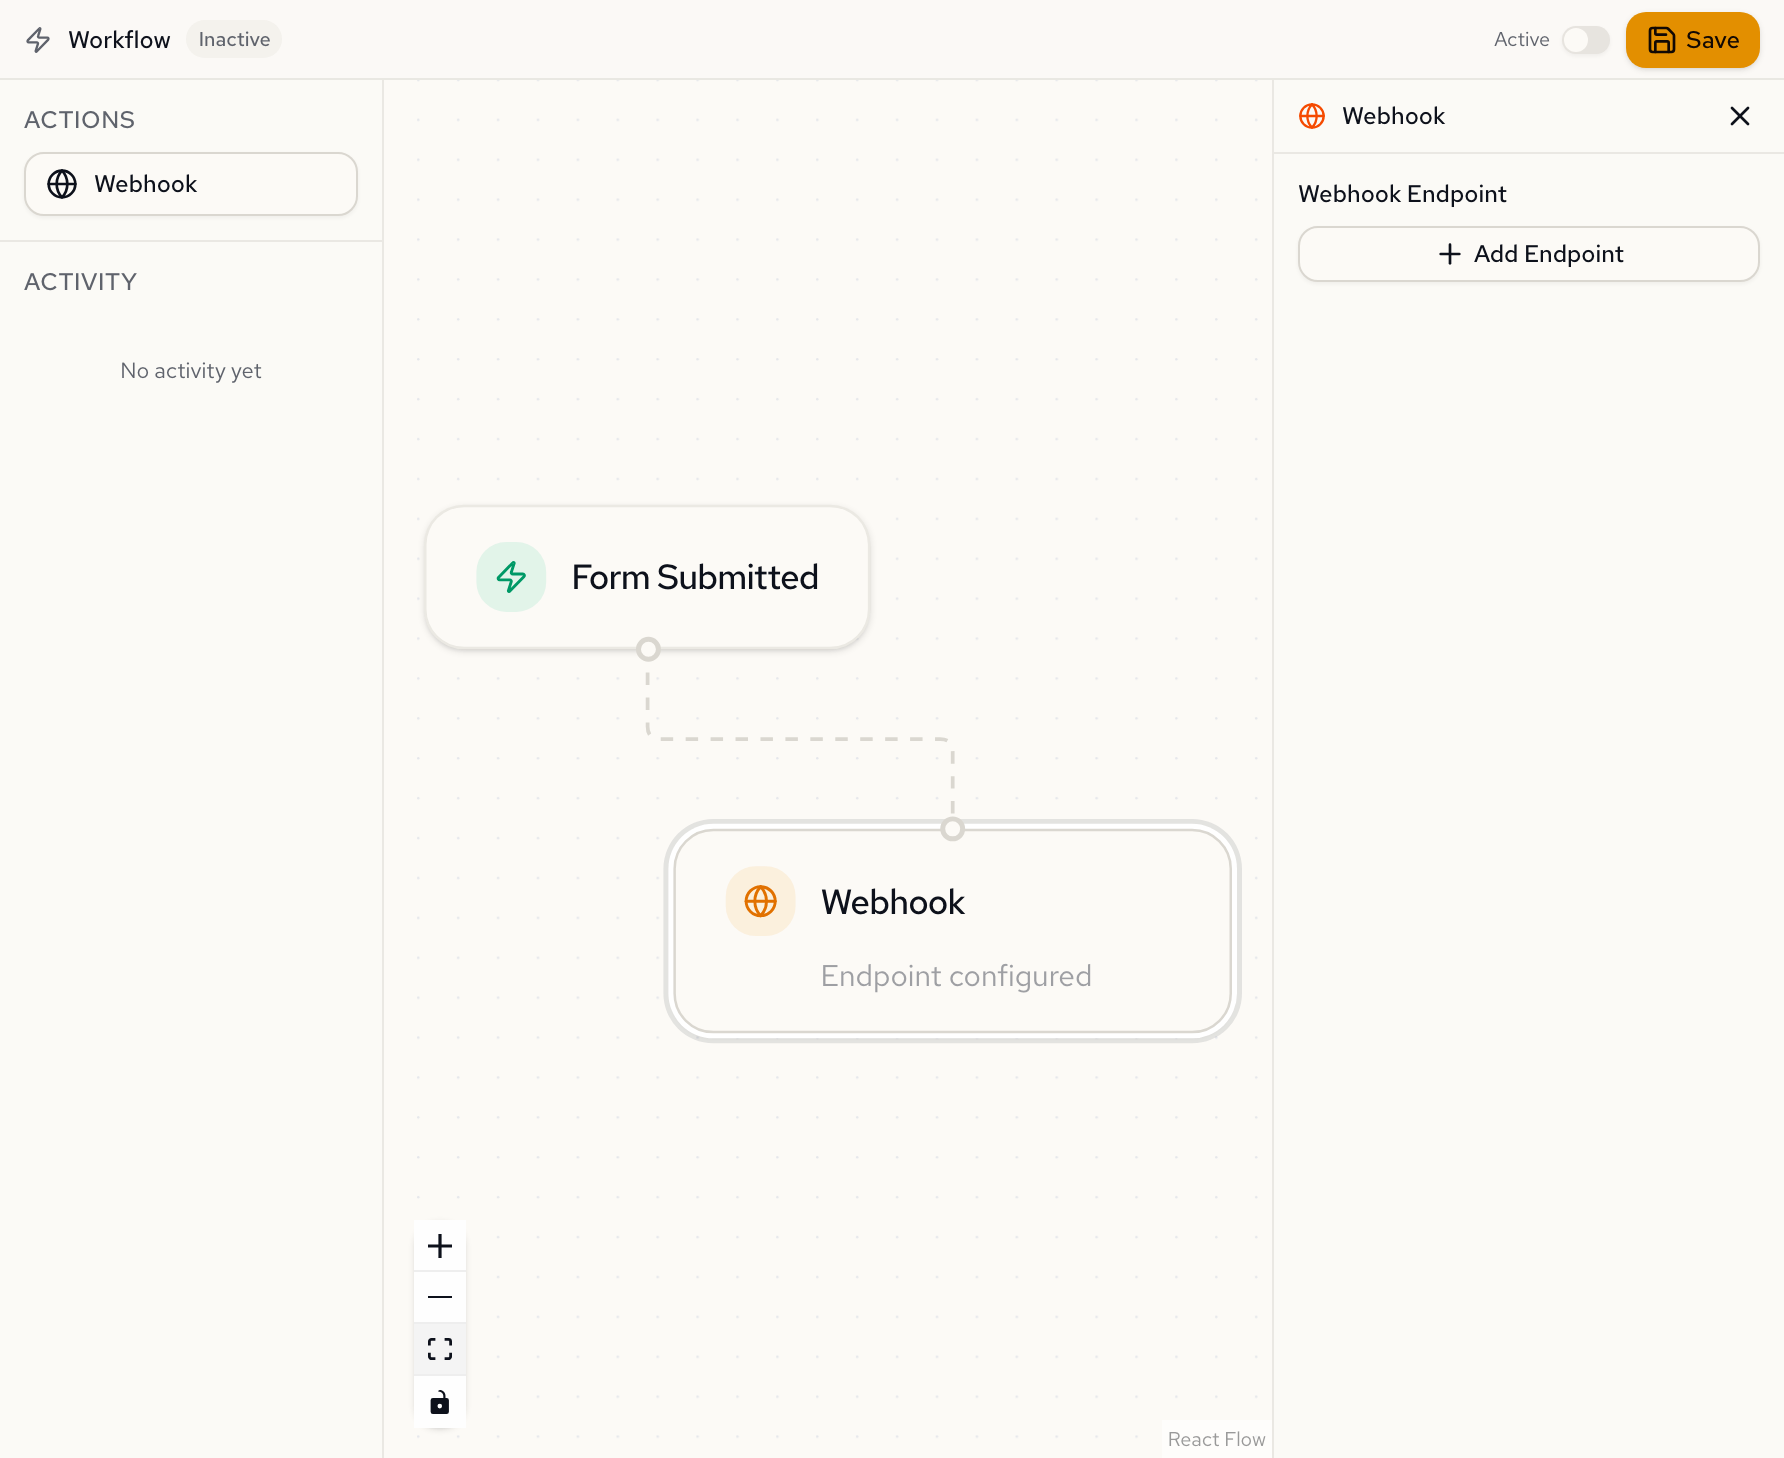
- Click Add Endpoint. Fill in:
- URL (required): the HTTPS endpoint that receives POST requests.
- Description (optional): a label to identify this endpoint.
- Custom Headers (optional): key-value pairs sent with every delivery, such as
Authorization: Bearer <token>. Values are encrypted at rest and cannot be read back after saving.
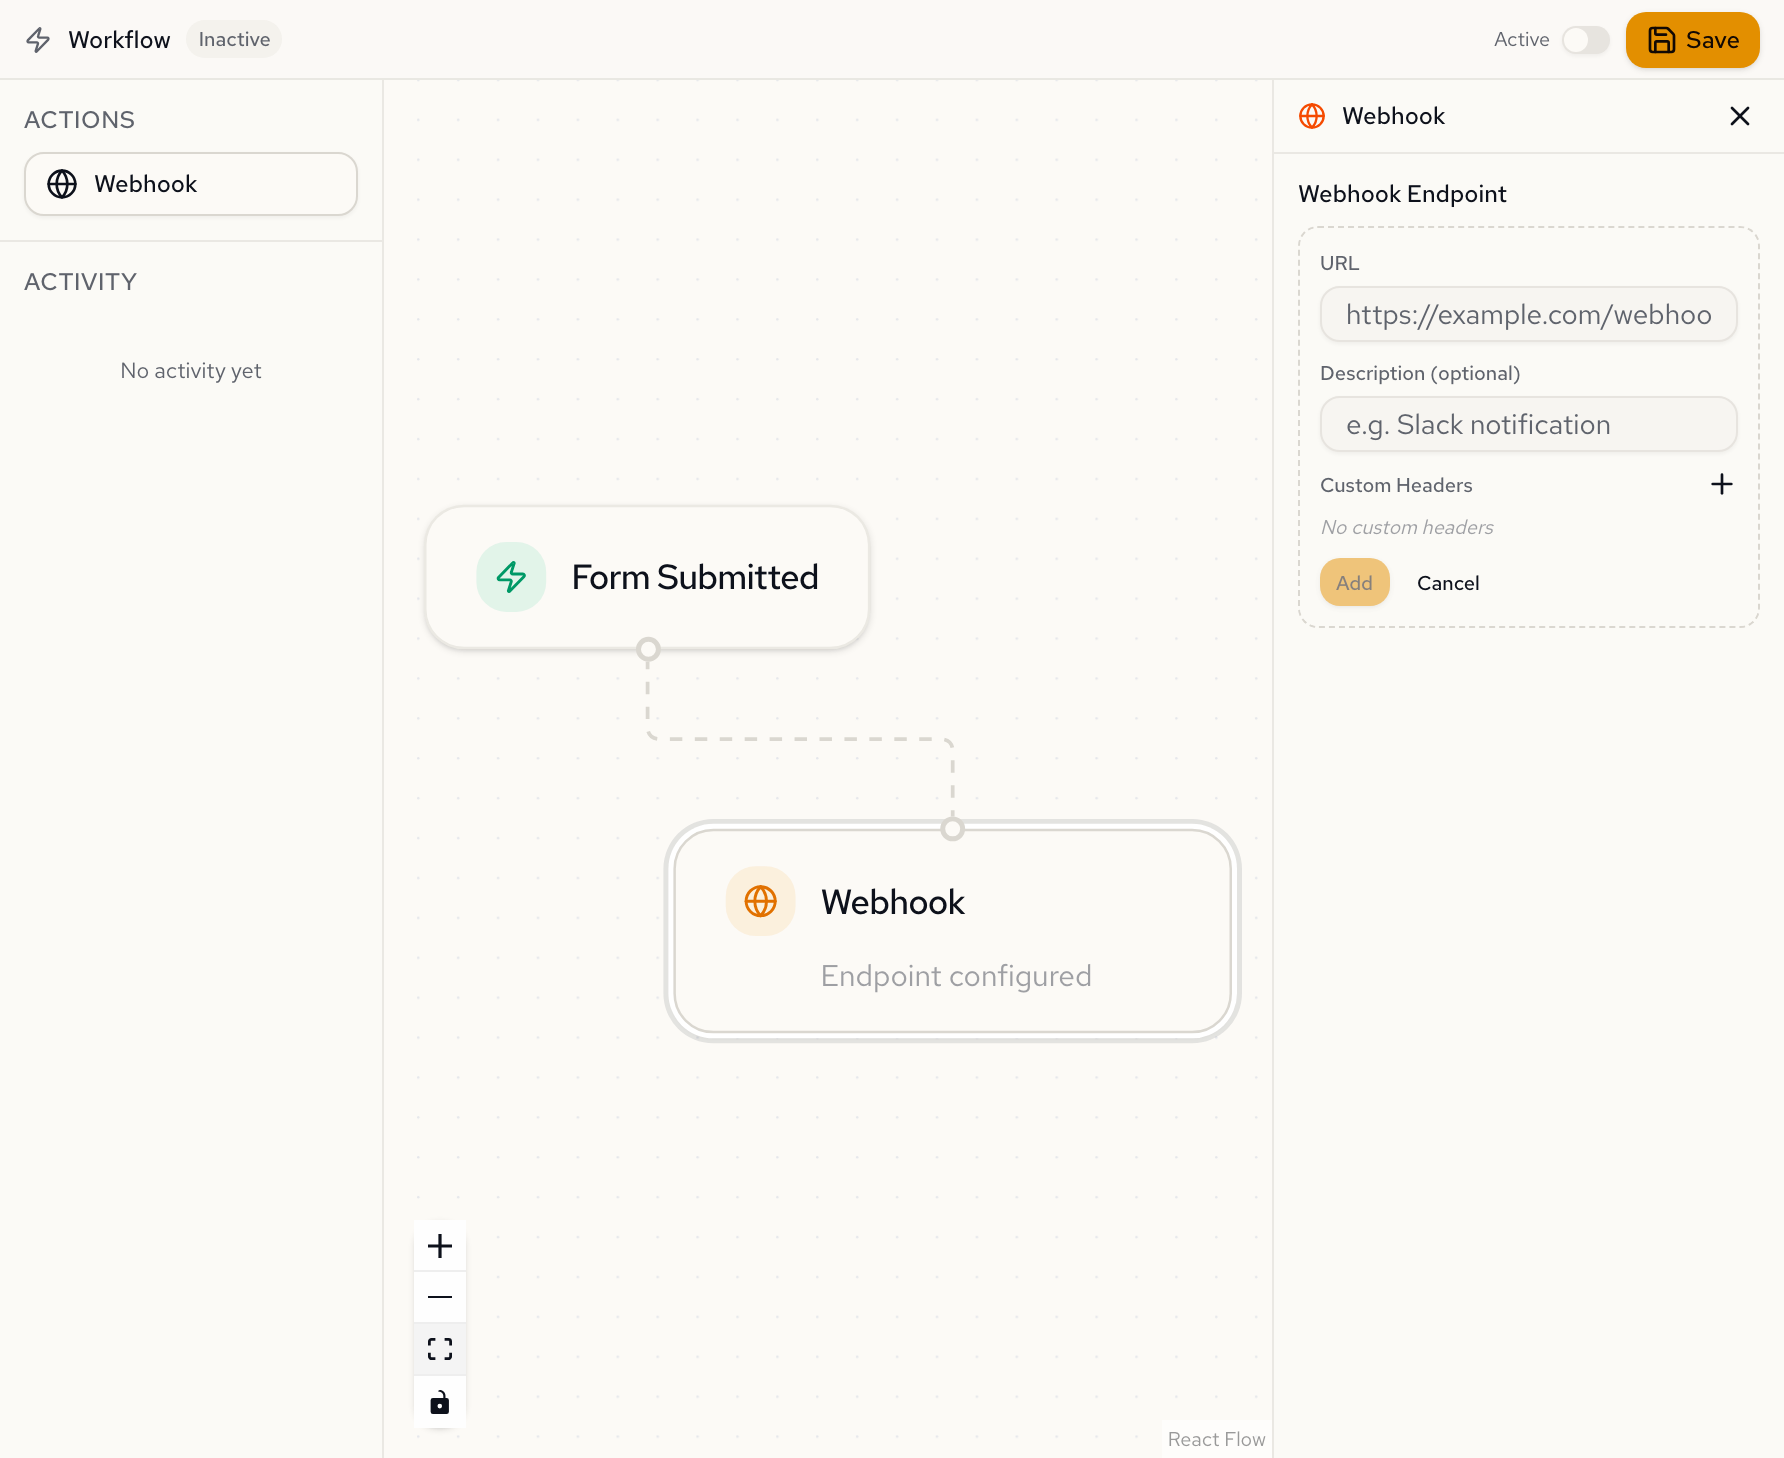
- Enter your webhook URL and an optional description, then click Add.

Copy the Signing Secret
- After creating the endpoint, a signing secret is displayed in an amber banner. Copy it immediately.
The signing secret is shown only once. If you dismiss it without copying, you must rotate the secret to get a new one.
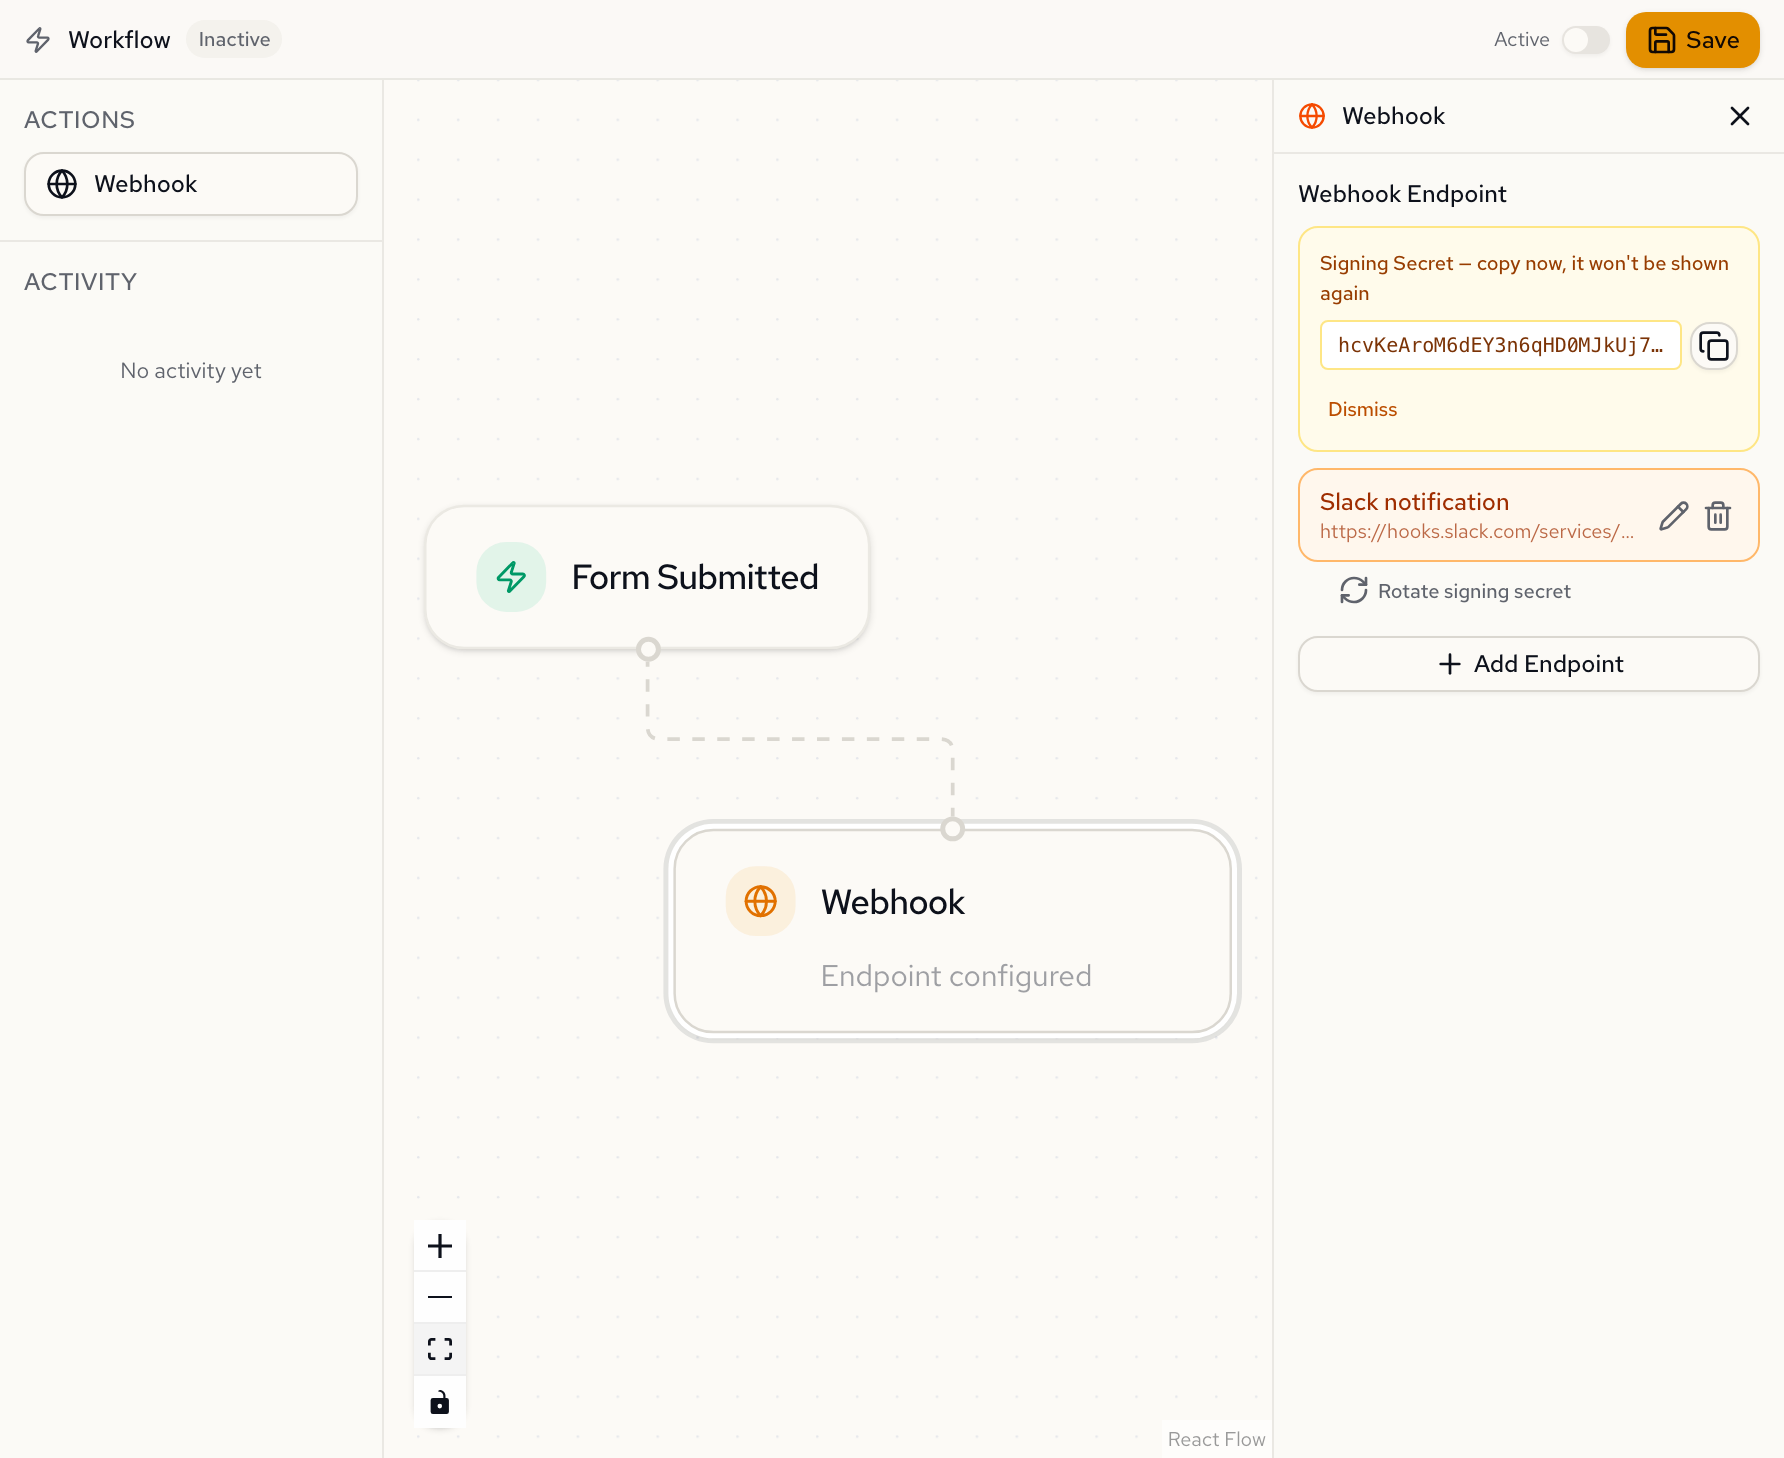
- Click Dismiss after copying the secret.
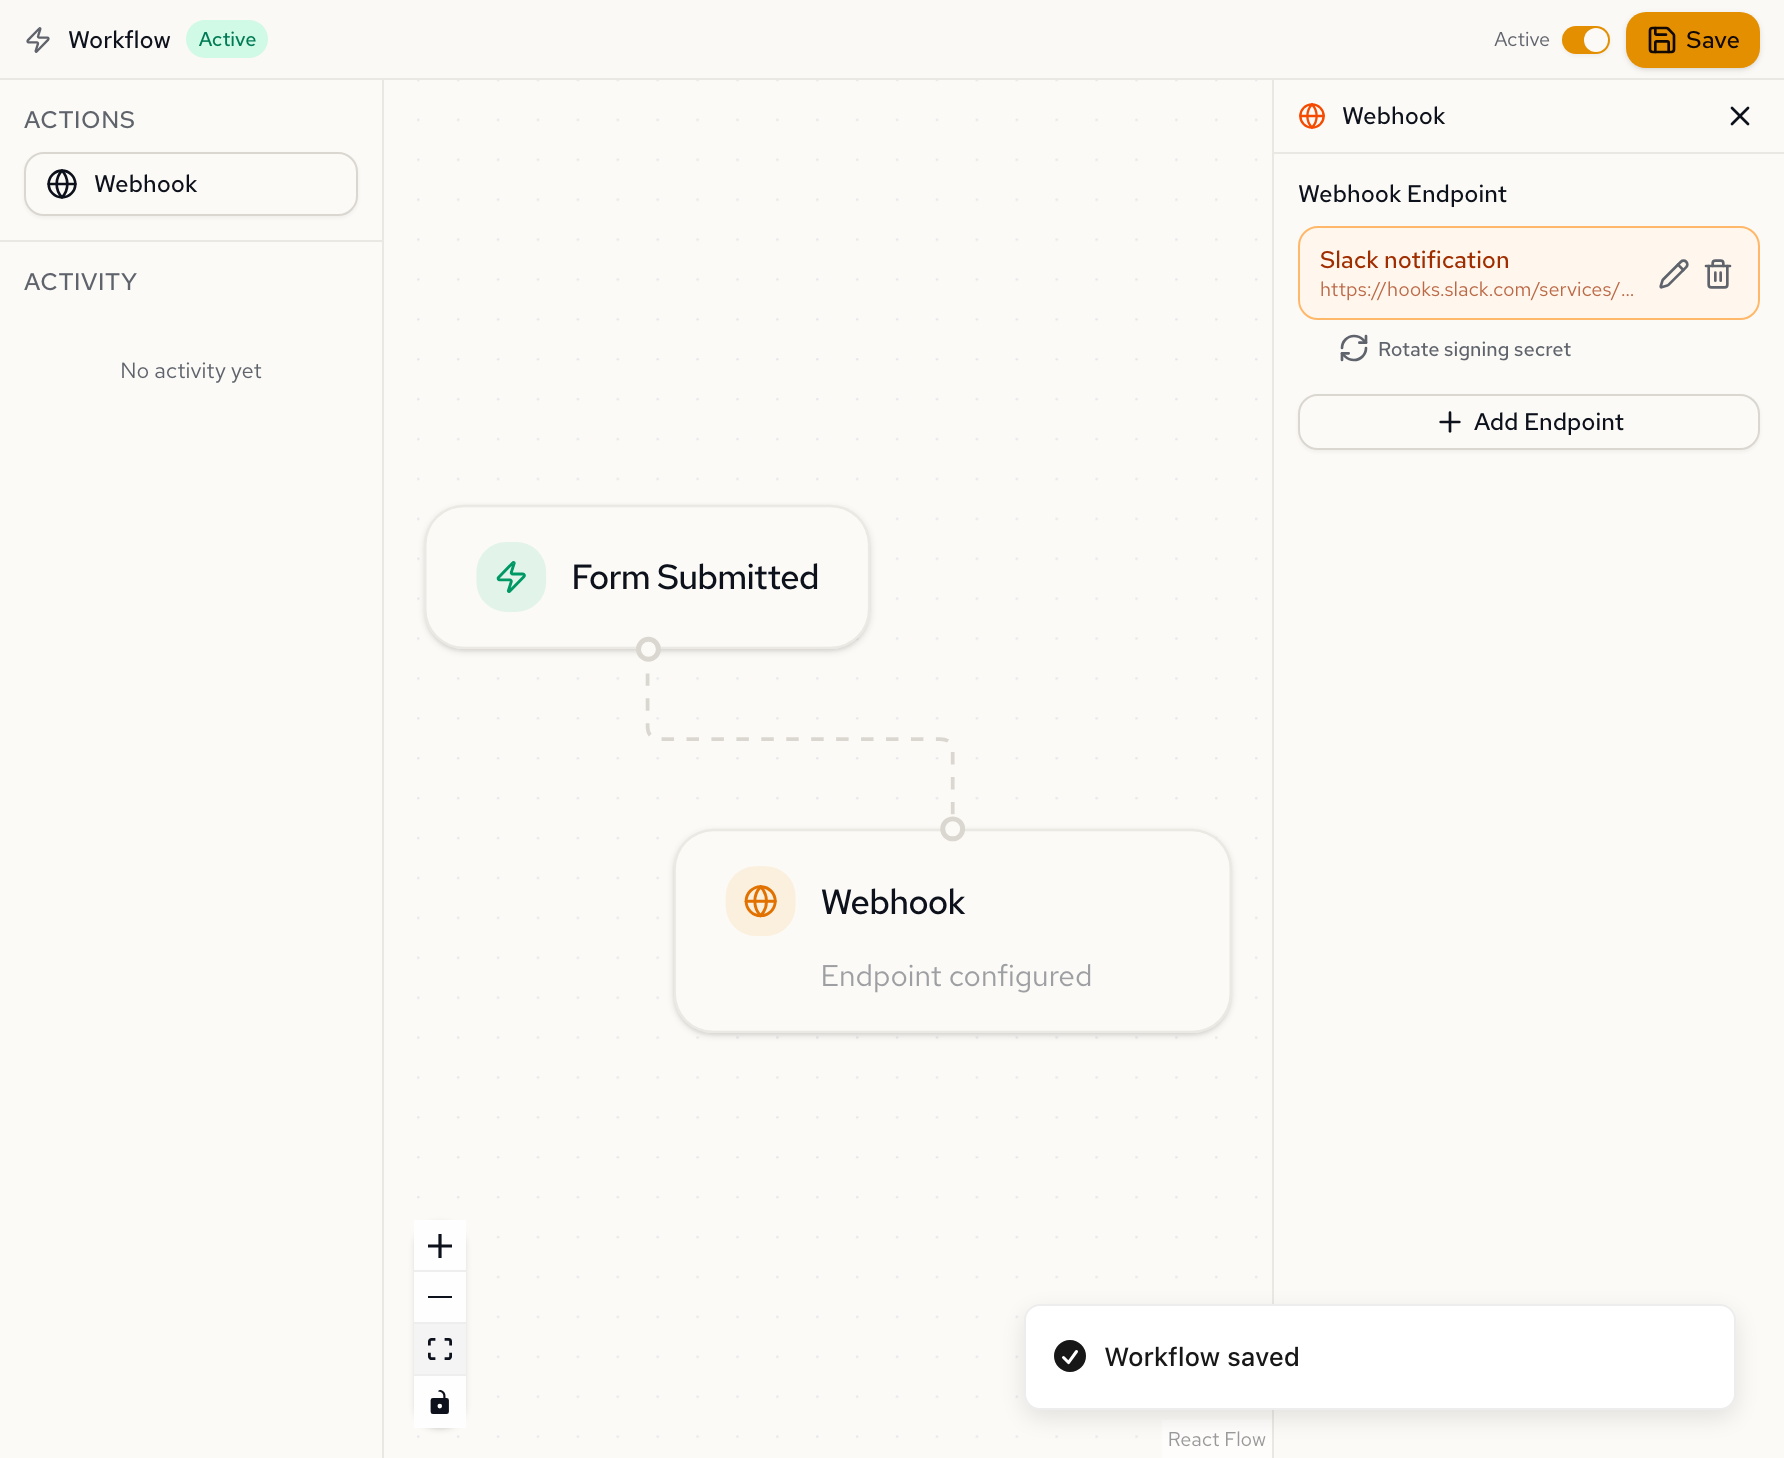
Save and Activate
-
Click Save in the toolbar to persist the workflow.
-
Toggle the Active switch in the toolbar to start delivering webhooks on new submissions.
Multiple Webhooks
To deliver submissions to more than one endpoint, click Webhook in the Actions panel again. Each new node connects to the same trigger. All endpoints receive submissions in parallel.
Editing an Endpoint
- Click the webhook node to open the configuration panel.
- Click the pencil icon next to the endpoint you want to edit.
- Update the URL, description, or custom headers.
- Click Save.
Custom header values cannot be viewed after creation. To change them, enter new values in the edit form. The previous values are replaced entirely.
Rotating a Signing Secret
- Click the webhook node to open the configuration panel.
- Select the endpoint.
- Click Rotate signing secret.
A new secret is generated and displayed. The previous secret is invalidated immediately. Update your server's verification logic with the new secret.
Monitoring and Retry
Activity Feed
The Activity section in the left sidebar shows recent webhook deliveries grouped by submission. It refreshes automatically every 30 seconds.
Each entry displays a status icon:
- Success: all endpoints returned a 2xx response.
- Failure: all endpoints failed (4xx, 5xx, timeout, or network error).
- Partial: some endpoints succeeded and others failed.
Delivery Details
Click an activity entry to open a detail dialog showing:
- Timestamp and submission ID.
- Per-endpoint status code, response time, and error message (if any).
Manual Retry
Click the Retry button in the detail dialog to redeliver to a failed endpoint. A new delivery is created with an incremented attempt number, a fresh timestamp, and a new signature. The event ID remains the same.
Next steps
- Payload & Signature Verification: payload format, headers, and code samples for verifying webhook signatures on your server.